Importing and syncing
Import stores from a CSV file
Add or update many stores at once by uploading a CSV file, and check the import log for any rows that need fixing.
A CSV file is the quickest way to add many stores at once, or to update many stores you already have. You fill in a spreadsheet with one store per row, save it as CSV, and upload it.
This guide covers:
- Get the sample file
- Fill in the file
- Upload the file
- Check the import log
- Update stores you already have
Get the sample file
- Go to Stores.
- Click Import › From CSV file.
- Click Download Sample CSV.
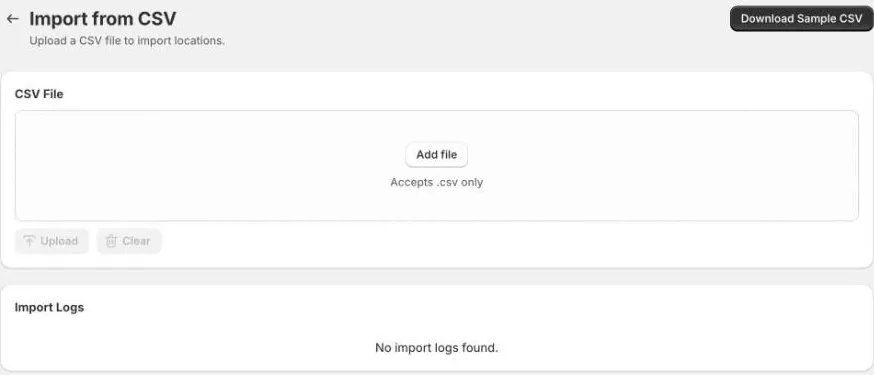
The sample has the right column headers and two example stores. Replace the examples with your own stores.
To update stores you already have, start from an export instead, so each store already has its StoreId. See Export stores to CSV.
Fill in the file
Keep the header row exactly as it is in the sample. One row is one store.
| Column | Required | What to enter |
|---|---|---|
StoreName |
Yes | The store name, for example Urban Stitch Perth. |
StoreId |
No | Leave empty to add a new store. Enter a store’s ID to update that store. See Update stores you already have. |
Handle |
No | A short name for the store’s web address, such as urban-stitch-perth. Leave empty to make one from the store name. |
Address |
Yes | The street address, for example 140 Murray Street. |
City |
Yes | The city or suburb. |
State |
Yes | The state or province. |
Country |
Yes | The country. |
Zip |
Yes | The postcode. |
PhoneNumber |
No | The full phone number, ideally with the country code, for example +61855500102. |
Email |
No | The store’s email address. It must be a valid email address. |
ShortDescription |
No | One or two lines shown in the store list. |
Description |
No | A longer description for the store’s page. |
Status |
Yes | active to show the store, or inactive to hide it. Use lowercase. |
Tags |
No | Tags separated by commas, for example Outlet,Service centre. |
Good to know:
- You don’t need map coordinates. The app finds each store’s pin from its address. Check the address is complete and correct.
- Trading hours aren’t in the file. New stores get your default trading hours from Settings. Set special hours on each store afterwards, or use Bulk edit hours.
- Photos, social links, and labels aren’t in the file. Add them on each store.
- When you save, choose CSV (comma separated). Excel (
.xlsx) and Numbers files can’t be uploaded.
Upload the file
- Go to Stores › Import › From CSV file.
- Drag your file into the CSV File box, or click Add file.
- Check the file name, then click Upload.
Files must be .csv and no bigger than 1 MB. For a very large list, split it into several files.
The import runs in the background, so you can leave the page. When it’s done, your stores appear on the Stores page. The app places each store on the map as it imports it, so a large file can take a few minutes.
Check the import log
Each import adds a log to Import Logs on the same page. Click Download to open it.
The log shows:
- Validation errors: rows that were skipped, with the row number and what’s wrong, for example
Status must be 'active' or 'inactive'orInvalid email format. Row 2 is the first store under the header row. - Summary: how many stores were Created, Updated, Failed, and Skipped.
Rows with errors are skipped, but the rest of the file is still imported. Fix the rows the log lists, then upload a file with just those rows.
After an import, check the Not on map tab on the Stores page. A store lands there if the app couldn’t find its address. See Fix stores missing from the map.
Update stores you already have
To update stores instead of adding new ones, each row needs the store’s StoreId.
- Export your stores. The export has every store’s
StoreId. - Change the details you need in the file. Delete the rows you don’t want to change.
- Upload the file.
Before you upload an update, keep these in mind:
- Every column is applied as it is in the file. If you leave
Email,PhoneNumber,ShortDescription,Description, orTagsempty, that detail is cleared on the store. Starting from an export keeps everything that’s already there. - Trading hours, special dates, and photos aren’t changed by an import.
- If you leave
Handleempty, the store keeps its current handle. - A row with a
StoreIdthat doesn’t match one of your stores is skipped. - A row without a
StoreIdalways creates a new store, even if a store with the same name exists. Leave out stores you already have, or you’ll get duplicates.
You can also find a store’s ID as Store code at the bottom of the store’s page in the app.